I bought the land May 4th , 1994 but this venture didn’t begin then. No sir. For me it began two years earlier, if not from the time I was born.
 |
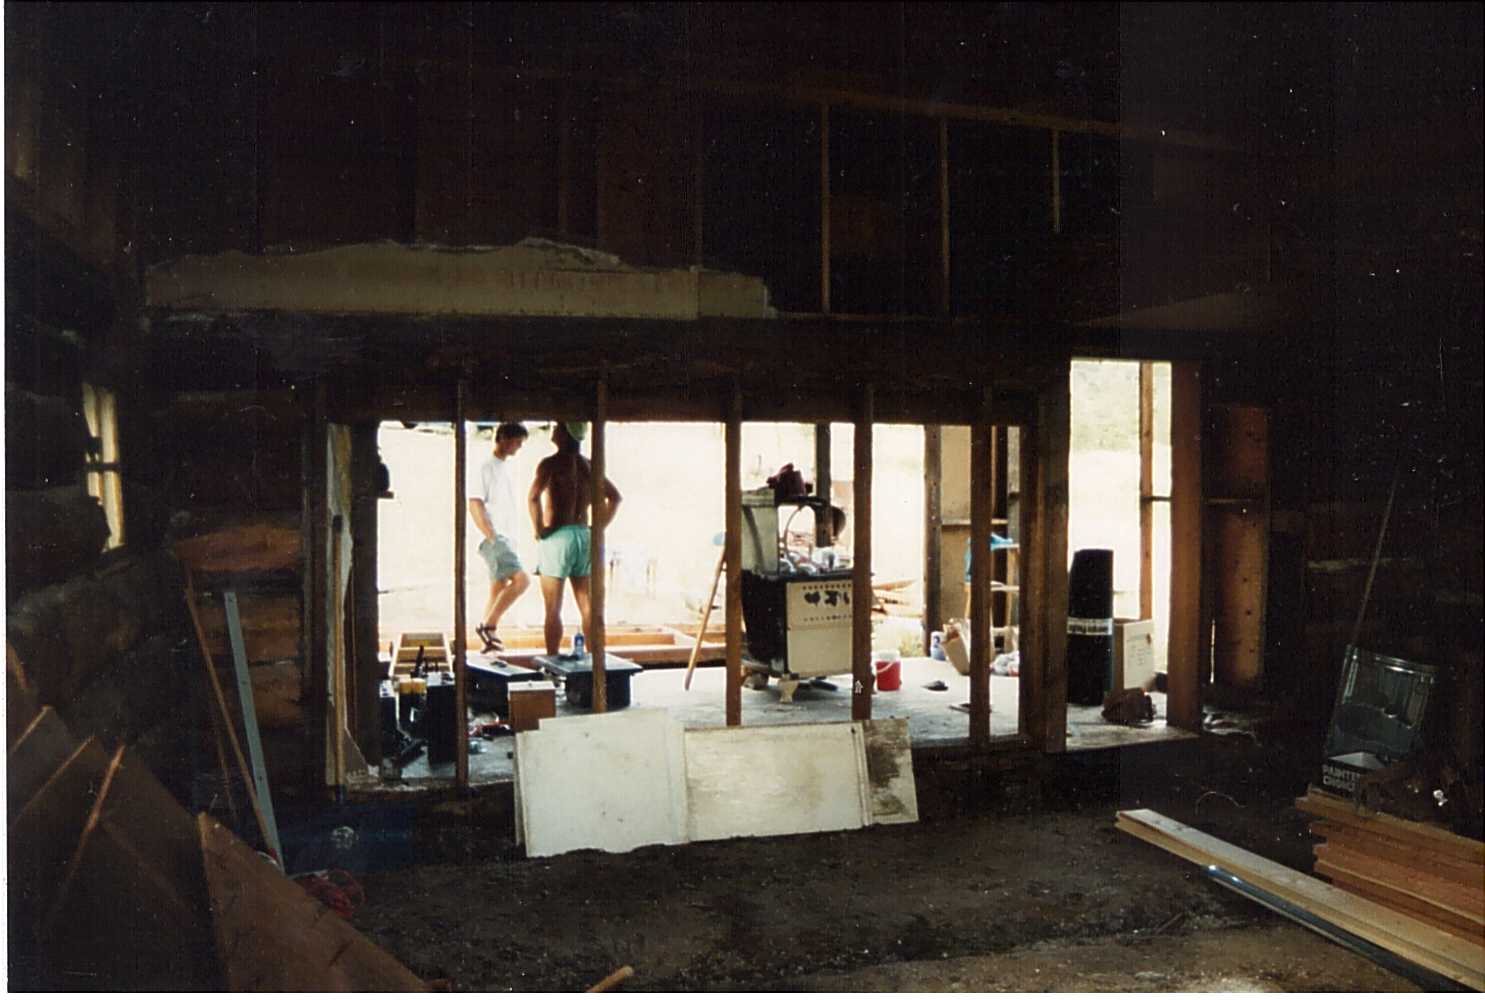
| destruct before construct. this was an ad-on by the previous owner. he poured a concrete floor but built the walls on the ground, therefore they were rotting and had to be torn down and rebuilt on the existing floor. later I would have to put a foundation under it....another chapter. |
Like the sayin goes; how long did it take you to do this? My whole life, or 51 years as of this writing. Some things we were destined to do whether we know it or not. I always wanted to live off the land “sustainably” so to speak so I started out back in 92 or so looking for land from New Mexico to Idaho. This is the first place I saw. Nothing else compared, Seriously. I saw the potential but had no understanding of the can o’ worms I was openin, ahh, through the lens of youth and idealism. Oh well. Never afraid of learnin something new, nothing left to do but point em down hill and let er rip. Pick your line and shred it so to speak. Well here we go-----19 years later! Talk about shreddin some vert.
 |
| this was the original rock fireplace. note where the rocks end. that was the original height of the cabin before the previous owner punched out the roof. the fireplace had to go because a]it was to big for the space and b] all the chinking had failed and a family of rats were livin in the cracks. |


 As you can see in this photo, though not as well as I’d like, that the chinking like everything else was in bad shape or non-existent and In fact had not been done since 1907. We know this because newspapers were used to fill in the gaps between the logs and were from Portland Maine dated 1907. When re-chinking I had found a recipe in the Complete Book Of Cordwood Masonry House building: The Earthwood Method by Rob Roy (Jun 30, 1992) .The recipe consisted of a typical masonry mix of sand, lime, Portland cement, but with the added ingredient of sawdust soaked in water and added to the mix. The mix was just right when you could make a snowball, throw it in the air, and upon landing only slumped a little bit but still held together. The sawdust helped with elasticity, and slowed the drying which improved the curing. After 19 years it is still holding strong! I would recommend this recipe!
 |
| Note the orbs. This is a truly spiritual place. |
The Rock Wall you see here is of native stone and was built by my friend Mike “the skunk slayer” whom was a rock mason in Breckenridge before becoming head of Summit Huts. This is a free standing wall that separates the living room from the bedroom, is 18” thick, has shelves, crystals, antlers for coat racks built into the masonry. The main purpose of the wall was to act as a heat sink absorbing heat from the ambient temperature of the cabin, as well as to absorb heat from the wood stove. Though not a tromb wall it performs perfectly. Although like all mass, especially uninsulated it swings both ways. Ie.. it helps keep the place warm when the place is kept warm but also takes a while to heat up if it hasn’t been kept up, with warmth that is.
The rock used in this wall as well as our stem wall to substitute the bottom course of logs was selected for its near perfect brick shapes. In other words all the surfaces were flat and fairly square or rectangle.
 |
| My Wife Terri. Master Plasterer, and Painter! |
The interior of the cabin has earth plaster details where conventional building materials meet natural ones. The dry wall is painted with Bioshield Matt white natural paint {for both primer and finish paint} and then pigmented with Concrete mineral pigments. {A much cheaper alternative to buying pigment from bio-shield} I purchase these pigments from any concrete batch plant, or from Blue Concrete. I choose this paint because it is truly odorless and economical.
 |
| finished! |
 |
| all the finish details are recycled or reused from previous job sites or salvage yards. |
Though the historic cabin part of the Way Back Inn is far from a well built passive solar home it functions perfectly well. What would I have done differently? Without changing the historical nature and feel of the cabin I would have insulated under the concrete slab as heat goes to cold and the earth will forever drink whatever heat you feed it. In the future I may consider plastering the exterior logs with adobe and a lime top coat to better insulate the logs and seal air infiltration between them. Then the logs would act more as an heat sink and less as a conductor of heat.
 At some point we had to pull a permit for the rehab we were doing to the cabin. The cabin actually sits on a rock outcropping and although the walls of the bedroom were on a concrete slab by the previous owner I still needed to put a foundation under it. So here is my friend Kevin helping me hand dig for the foundation
  |
| another successful back country pour. |

Because of the elevation in relationship to the addition I would have a drainage problem. To remedy this I flashed with metal the first 24" of the bedroom walls.
Note the evidence of 2" blue board at the foundation level and the over lapping flashing for drainage and water protection.


I had to do the same to
the foyer on the west side of the cabin

This is before I had learned about Natural Plasters.
No comments:
Post a Comment